This a walk through of how I made a Battle Chronicler component from a piece of gaming terrain.
miniatures (c) Games Workshop 2009. All rights reserved. Used without permission
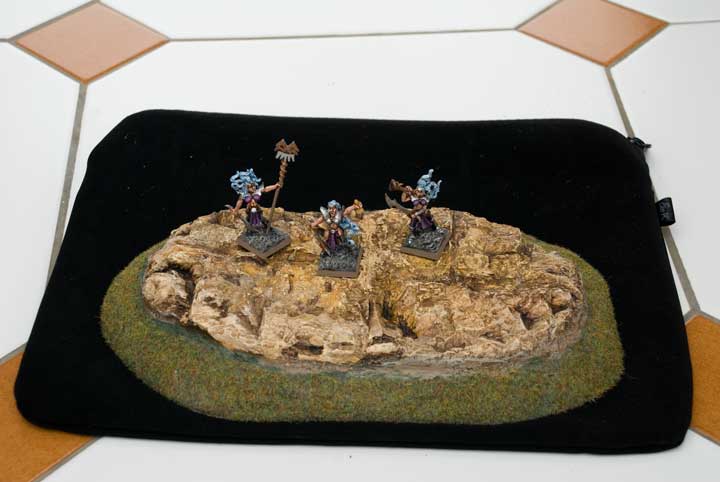
The rocky hill was a hand built from a Woodland Scenics rock mold, filler, MDF base and flocked. It is seen here with three of my witch elves to show the scale.
The first step is to take the photo of the terrain. What we want is a photo taken directly overhead with most of the terrain in focus and evenly exposed.
 The photo shows my camera set up in the conservatory. The glass walls and roof lets in the light from many angles, which give a good all round illumination.

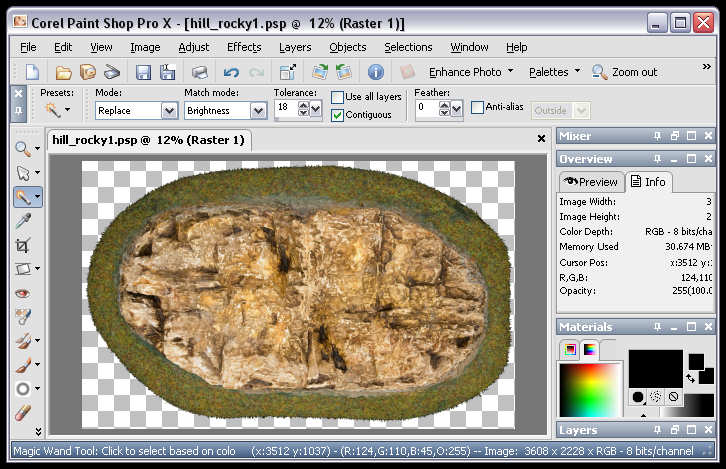
Once the photo has been loaded into your computer you will need to edit it using a graphics program. I use Paint Shop Pro X. There are many alternatives such as Photoshop and the Gimp (this one is free).
The first step is to crop the photo so just the piece of terrain is included. Next we need to remove the background. This is where choosing a black background for the photo pays of. If a little piece of backgound is left it will look like a shadow and will not matter. Bits of a white background on the other hand just look messy. Removing the backgound was two minutes work in Paint Shop Pro using the magic wand tool. With other photos it can take a lot longer.
I have not given precise instructions here as the techniques vary slightly depending on the application you are using. Also there is an excellent in depth tutorial on how do this at this url: http://www.madreporite.com/dundjinni/tut_object.htm.
Up to now I have been working with the image at its original resolution, 3872 * 2592 pixels, which is much bigger than we need. T he image needs to be re-sized which is easy to do in Paint Shop Pro.
Choosing the right is the difficult bit, too small and the component image will look poor quality, too large and the image file size will be huge. I chose to make this one 500 pixels. As the hill is 10 inches wide in real life, this gives an image resolution of 50dpi (dots per inch). This is on the low side, but as the image does not contain straight lines and regular shapes then we can get away with a low resolution. There is more discussion on image files sizes in another topic.
Tip: Save a copy of your image before re-sizing it. Its impossible to make an image bigger again without loosing quality. Y ou may change your mind later on and want to re do the component at a higher resolution.
The final step of the image production is to export the image as a PNG file. Paint Shop Pro has a export wizard which makes this easy. There are several options in how a PNG file is save. Choose to save it with 24bit colors and Alpha transparency.
JPG files are much smaller than PNG files of the same photo. However PNG files have the crucial feature that they store transparency information, s o that the component does not have to be a perfect rectangle.
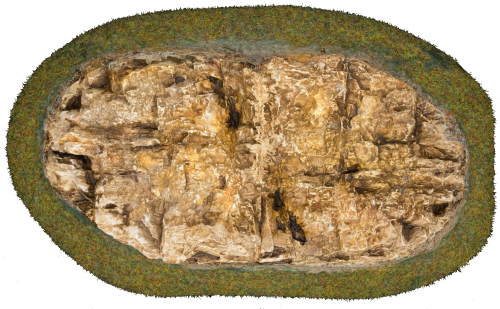 bc_hill_rocky.png - 332KB |
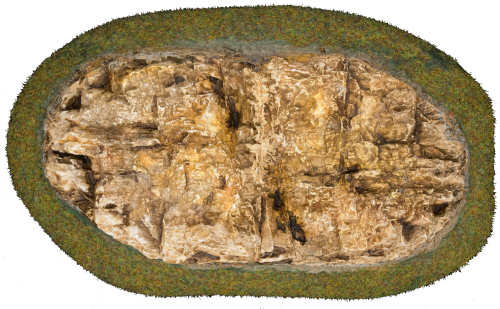 bc_hill_rocky.jpg - 32KB |
The exported file 'bc_hill_rocky.png' is 322KB in size. The same file save as a JPG is only 33KB in size.
There is no set limit on how big an image file can be. As my components are intended to be shared via download from the net, I try to keep them small; under 1mb. However BC will handle massive files if your machine is up for it. So feel free to do what you want for your own use.
First I copied the PNG file into the components directory. 'C:\Documents and Settings\Tom\My Documents\Battle Chronicler\components' In BC I went to Edit->Components->New.
I gave it the name 'Hill, rocky 10'. This follows the standard BC naming convention. Which goes from general to specific followed by the size in inches. This way all the hills get put together in alphabetical order.
Setting the Fill Type to 'Image' displays the Image Fill options, which allowed me to select the bc_hill_rocky.png' file.
The type was set to terrain and the shape set to a rectangle.
The Level was set to Ground. This enables other types of terrain, such as trees to be placed on top of the hill.
The border thickness was set to 0 as one is not needed.
The only hard thing is getting the dimensions right. The hill is 10 inches wide in real life and that is how wide I want it to be in BC. The length needs to be in the same proportion as the image size, which takes a bit of math. The image is 500 by 309 pixels; a ratio of 1.62. So the Length is 10 / 1.62 = 6.18 inches.
The last thing I did was edit the Intellectual Property rights to say I created it and to license it for non-commercial sharing. I also added a reference to Woodland Scenics who made the mold for the model.
This component is now included as part of the Extended component collection.